Rancher with Origo OS Kubernetes Cluster
In this guide we will install Rancher to a standard Ubuntu stack, install a Origo OS Kubernetes cluster and then import the Kubernetes cluster into Rancher to manage it with Rancher.
First install a Ubuntu server
Install a Ubuntu server using the standard Ubuntu stack. If you have not done this before, follow this guide.
You should configure your Ubuntu server with at least 4 GB of memory and 2 vCPU’s.
Install Rancher
ssh into your newly installed Ubuntu server and install Docker:
sudo apt install docker.ioNow install Rancher:
sudo docker run --privileged -d --name rancher --restart=unless-stopped -p 444:443 rancher/rancher:v2.6.3-rc10We install beta-version 2.6.3 because issues with release 2.6 and newer Linux kernels as well as Kubernetes 1.22, which are resolved in 2.6.3:
https://forums.rancher.com/t/new-installation-of-rancher-fatal-error-exit-with-status-1/20777/7
https://stackoverflow.com/questions/69452080/k3s-cluster-is-pending-in-rancher-dashboard
Once 2.6.3 or greater is released, update the command above appriately.
Now get the password of the admin user of your new Rancher installation:
sudo docker logs rancher 2>&1 | grep "Bootstrap Password:"point a browser to https://external-ip-address-of-rancher-server:444
type in the password you just found, and (IMPORTANT) set the server URL to: https://internal-ip-address-of-rancher-server:444
where you of course replace “external-ip-address-of rancher-server” and “internal-ip-address-of-rancher-server” with appropriate values.
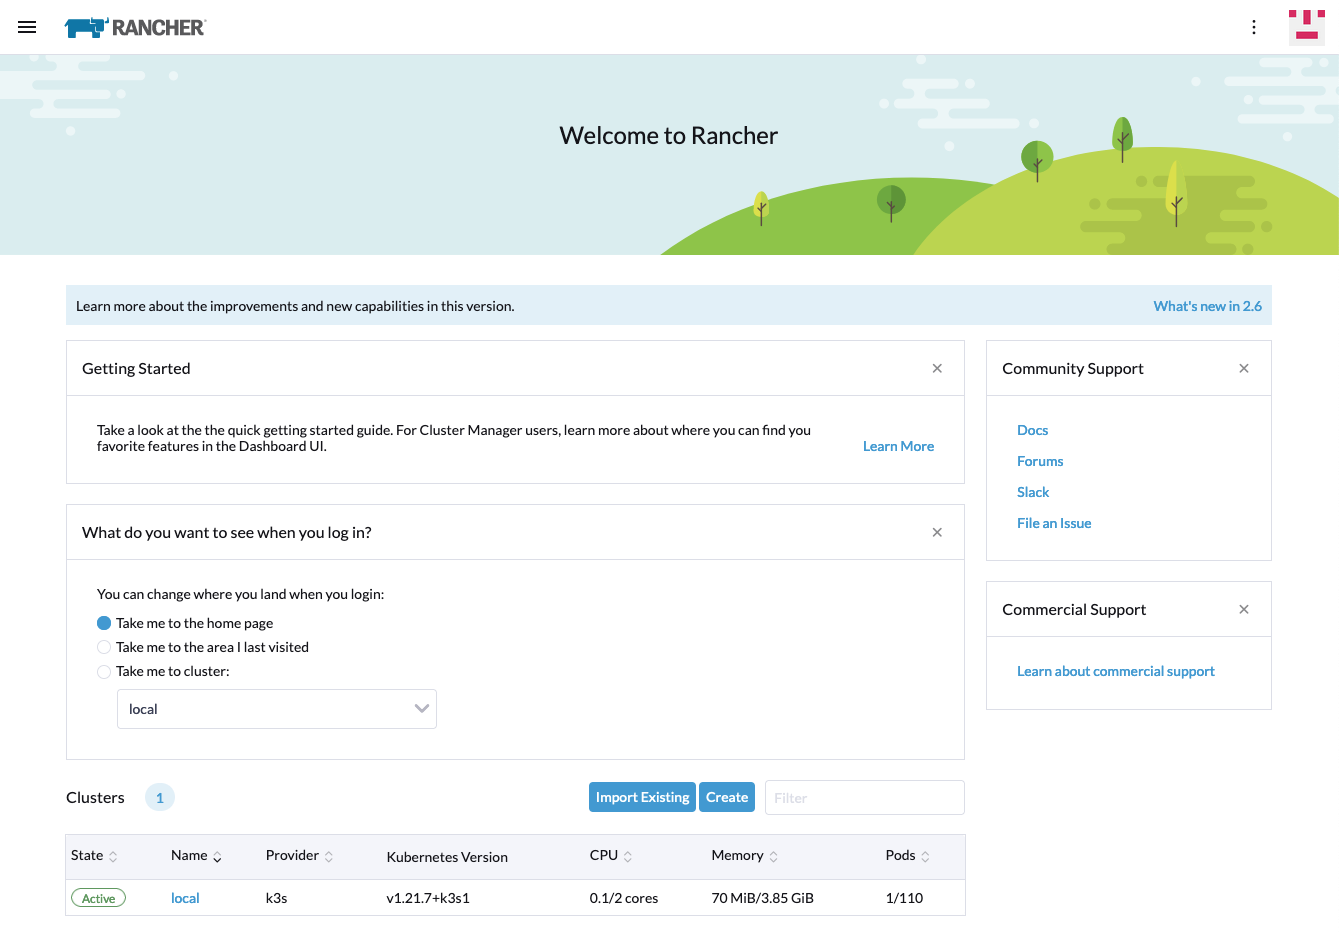
You should now be greeted with the Rancher welcome page similar to:
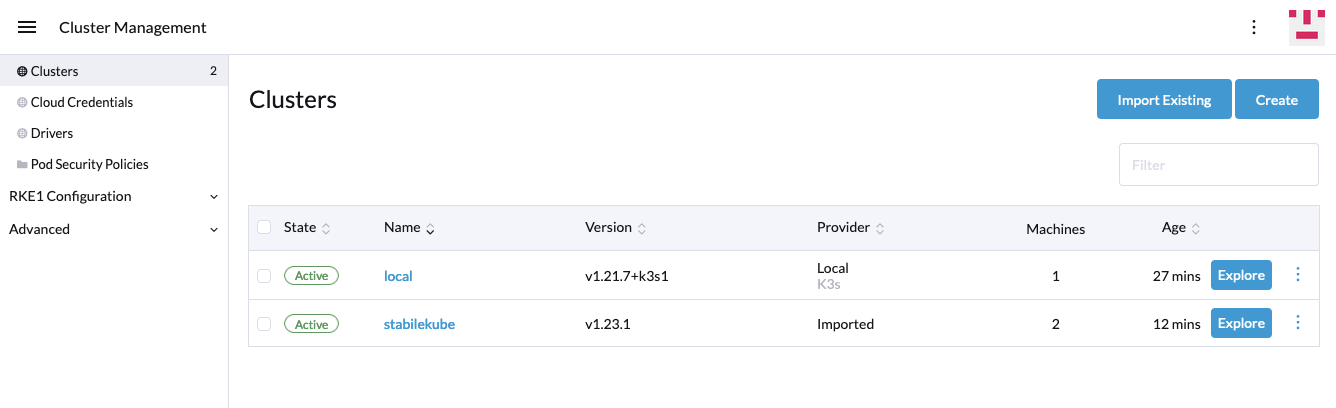
In the Rancher UI go to: Menu -> Cluster Management -> Import Existing -> Generic
Type a name, e.g. “stabilekube” and click “Create”.
You should now get a page displaying a command starting with “curl” you should save for typing into the Kubernetes control plane server we will be creating below.
Install a multi-node Kubernetes cluster
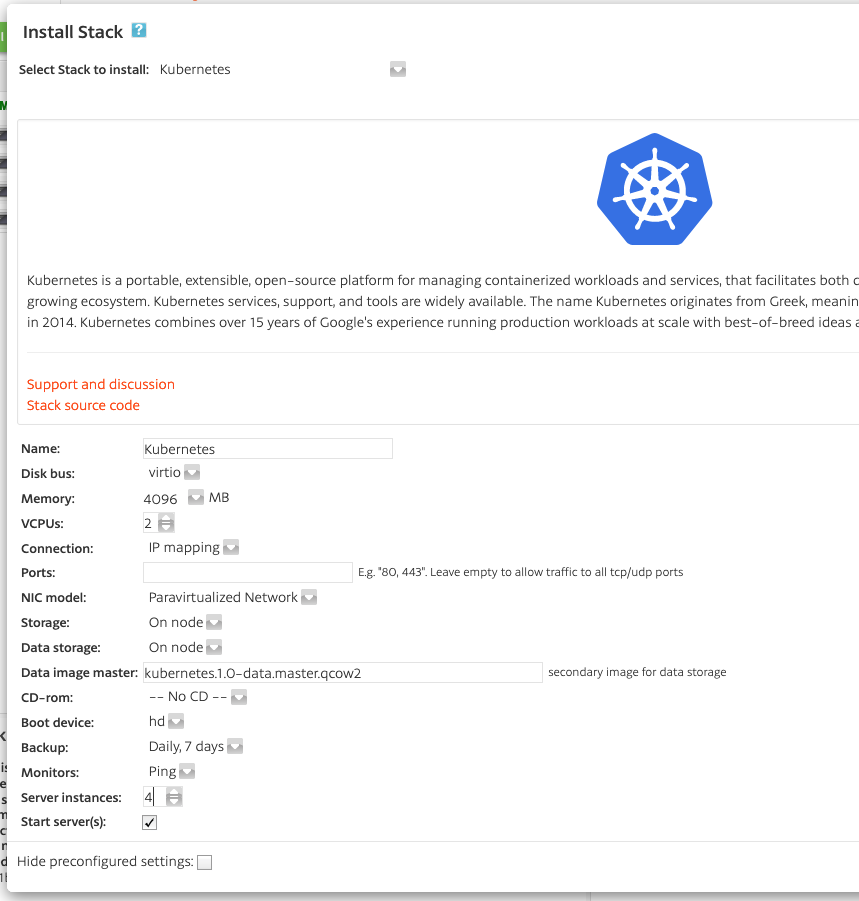
Install a Kubernetes cluster by following this guide.
NOTE: You can install as many nodes as you need instead of the default 2 (as shown in the image above). For convenience name your cluster “stabilekube” or something similar. If you need more storage than the standard 20GB per Kubernetes node, follow the instructions in this guide to expand the storage after installing the stack.
After the Kubernetes cluster is up and running, you must set a password for the stabile user in the “security” tab, and allow ssh access from your current IP address.
Once you have done this, head straight to your favourite ssh terminal and ssh to the stack administration server (running the control-plane), to execute all the commands in the steps below.
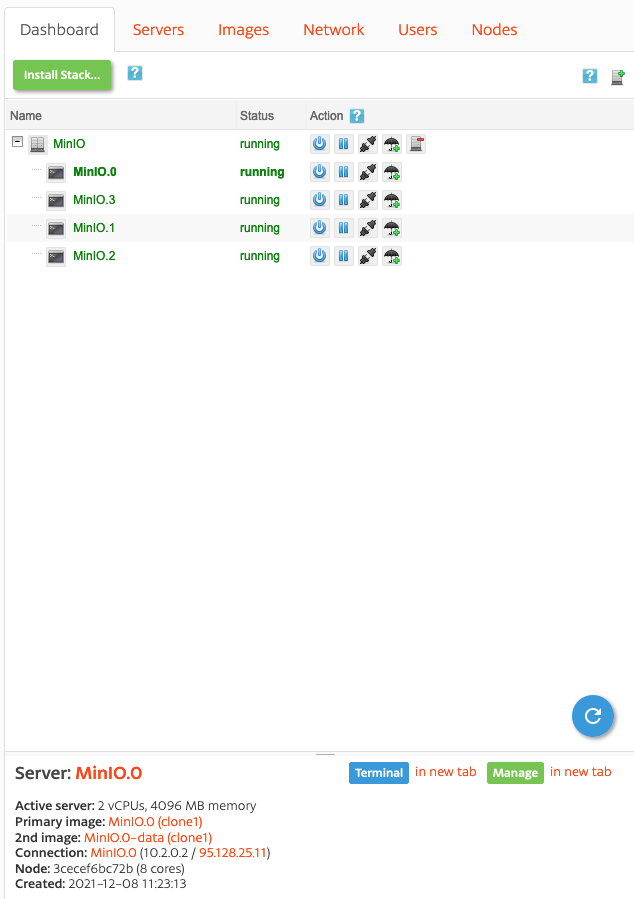
The administration server running the control plane is the one with a name ending in “.0” – find its IP address in the dashboard (as shown in the image above).
After Kubernetes has finished installing, as the user “stabile”, type in the command you noted from the step above. It should be similar to:
curl --insecure -sfL https://10.2.1.2:444/v3/import/4q9jlczdbz8zt8q4vv84rjd7wqldwh7mkfsnb2f8hvndshxlc2qmrm_c-m-dkdjmbk4.yaml | kubectl apply -f -with the IP address and the long id being specific to your environment.
Now head back to the Rancher UI at: https://external-ip-address-of-rancher-server:444
and voilá! after a few minutes, your Origo OS Kubernetes cluster should now be available for managing in the Rancher UI.
Add Bitnami Helm repo
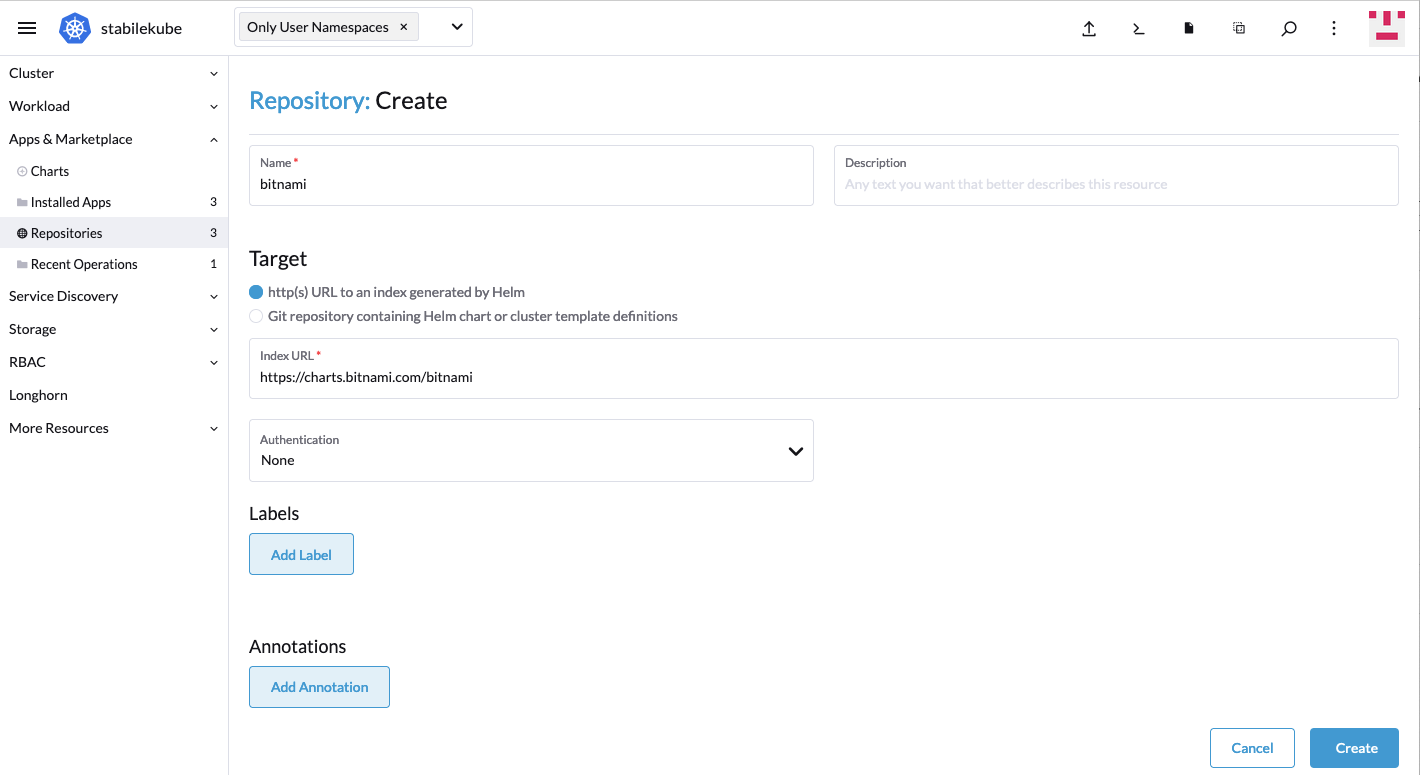
If you want to browse, explore and install some of the leading Open Source Linux software projects using the Rancher UI, you can add the Bitnami Helm repository to your Rancher installation. Simply go to: Menu -> [your clouster] -> Apps & Marketplace -> Repositories -> Create
type any name into the “Name” field, and type “https://charts.bitnami.com/bitnami” into the field “Index URL” and click “Create”
Install a Helm Chart
Before installing any Helm charts, you should provide your cluster with one or more dedicated IP addresss by going to the stack’s management UI in Origo OS and click “add IP address mapping”:
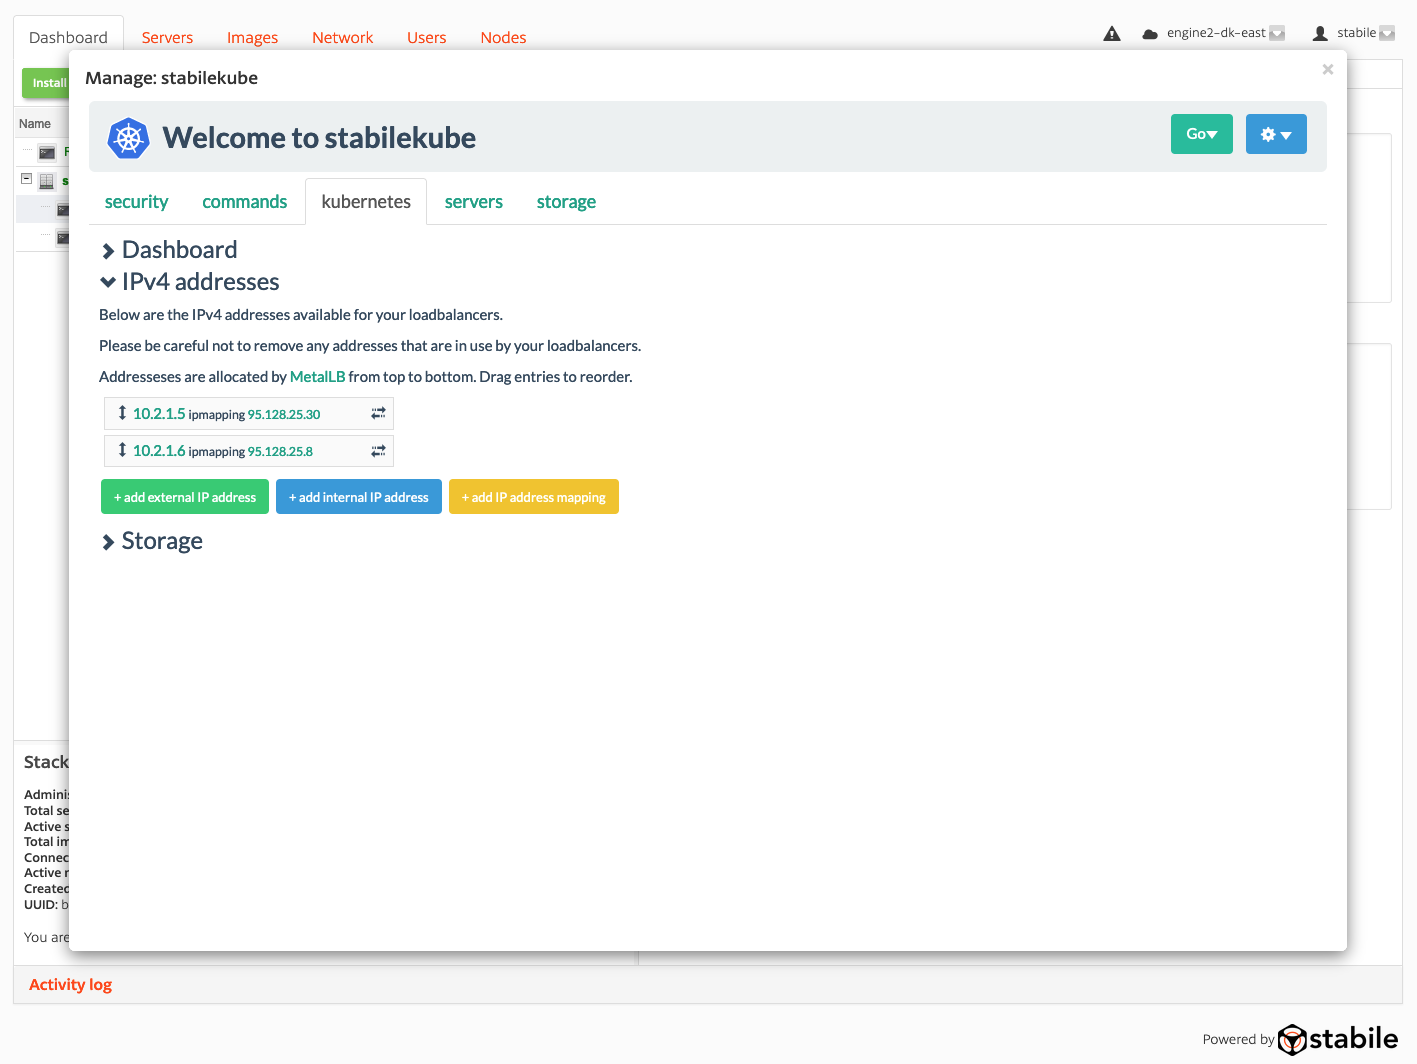
This will make an Internal Origo OS IP address available to Kubernetes. Corresponding to this internal IP address is an external IP address, you should use for accessing the services your charts make available, like e.g. web services.
You are now ready to install a chart. Go to: Menu -> [your cluster] -> Apps & Marketplace -> Charts
If you’re into e.g. scientific computing, you can now install the nice JupyterHub chart. In order to access the web UI, simply follow the instructions to get the password, and log into your new JupyterHub using the external IP address from above.


